Why Choose Cleveland Clinic for Your Lung Transplant
Since its inception 30 years ago, Cleveland Clinic’s lung transplant program has performed more than 2,500 lung transplants. Our program is a national and international leader in both patient volumes and successful outcomes. The Cleveland Clinic lung transplant program is an active member of the United Network of Organ Sharing (UNOS), and many of our team members serve on UNOS committees and in UNOS leadership.
Our specialists offer lung transplantation to people who may need concomitant cardiac procedures — including bypass surgery and valve surgery — and to those with esophageal conditions or mixed connective diseases. We also offer transplantation to those who need a multi-organ transplant, including heart-lung or liver-lung transplants at the same time.
We know that the transplant process can be overwhelming. That’s why our team works together to support you throughout your transplant journey. We have highly skilled and experienced individuals on our team who’ll work with you, guiding you through the entire lung transplant process from referral to your life-long care after transplant.
You are at the center of your care. We believe that patients can continue to live at home within 1,000 nautical miles of Cleveland as they wait for their transplant. Individualized care also continues after your transplant. We will follow up with you and work with your local healthcare providers. At Cleveland Clinic, we work as a large specialized team to give you the best possible care. We’re here for you, listening to you and answering your questions.
Learn MorePatient Stories
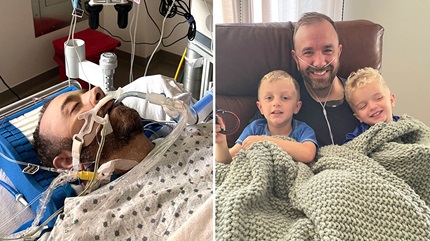
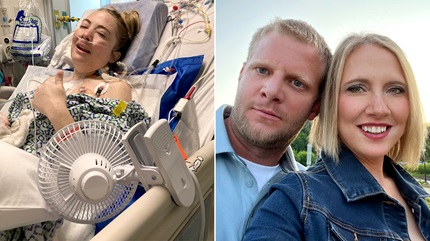
Tattoo Artist and Dad of Three Thankful for Life After Double-Lung Transplant
Apr 12, 2024